
Reupholstering Chairs for Beginners: Your First Confident Makeover
Welcome to your friendly starting point for transforming tired seats into fresh favorites. Chosen theme: Reupholstering Chairs for Beginners. We’ll guide you through tools, techniques, and small victories so you can learn, practice, and proudly share your first reupholstery success.
Begin with the Basics: Tools, Materials, and Mindset
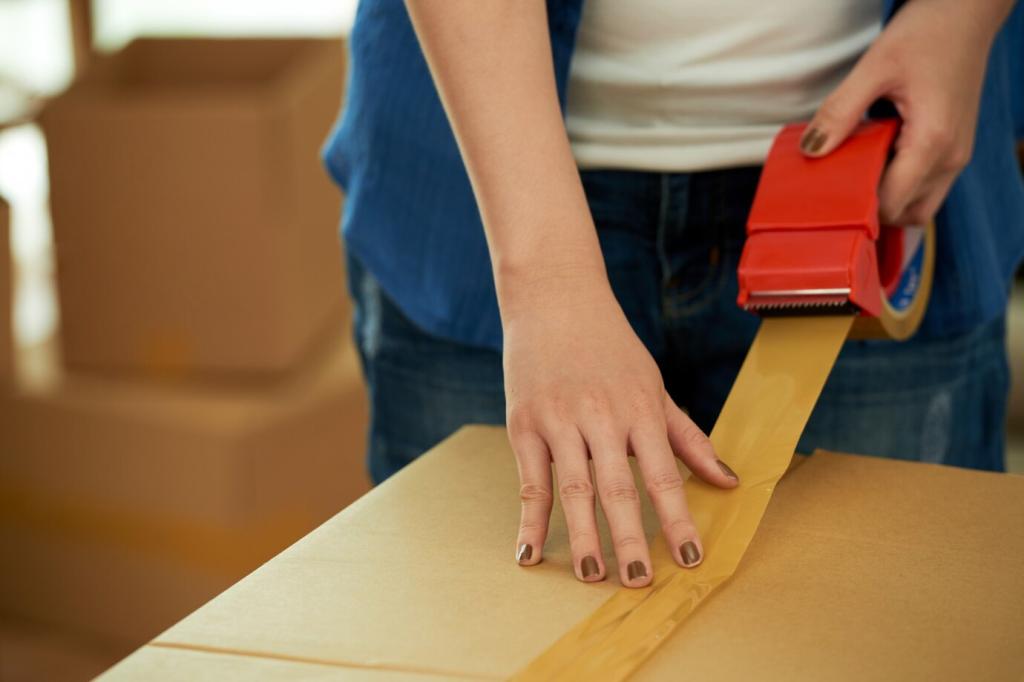
You do not need a workshop to start reupholstering chairs as a beginner. A staple remover, hand stapler, scissors, measuring tape, marker, and pliers take you far. Add a drop cloth, safety gloves, and painter’s tape to keep everything organized and clean.
Begin with the Basics: Tools, Materials, and Mindset
Look for medium-weight upholstery fabric with a little structure; it resists stretching while you learn tension. Avoid slippery velvets or delicate linens at first. A subtle texture hides tiny mistakes, helping your first chair look crisp, tidy, and surprisingly professional.
Begin with the Basics: Tools, Materials, and Mindset
Good lighting reveals staples and seams, saving frustration later. Work on a steady table or the floor with a drop cloth. Wear gloves for stubborn tacks, keep pets away from sharp tools, and label everything so reassembly feels easy and stress-free.
Removing the Old: Smart, Gentle Tear-Down
01
Before removing a single staple, capture the chair from all angles, focusing on corners and folds. Those photos become your roadmap for recreating tension and placements later. Beginners often skip this step and waste time guessing how the fabric used to sit.
02
Slide a staple remover under the legs of each staple, then lift slowly to avoid gouging wood. If a staple breaks, use needle-nose pliers to twist it free. Work in sections, collect sharp bits in a tin, and celebrate every clear, clean edge.
03
As you pull the old fabric, label each piece—seat top, back panel, underside dust cover. These become templates for cutting your new fabric. Mark grain direction and front edges so you can maintain alignment and achieve a professional result on your first try.
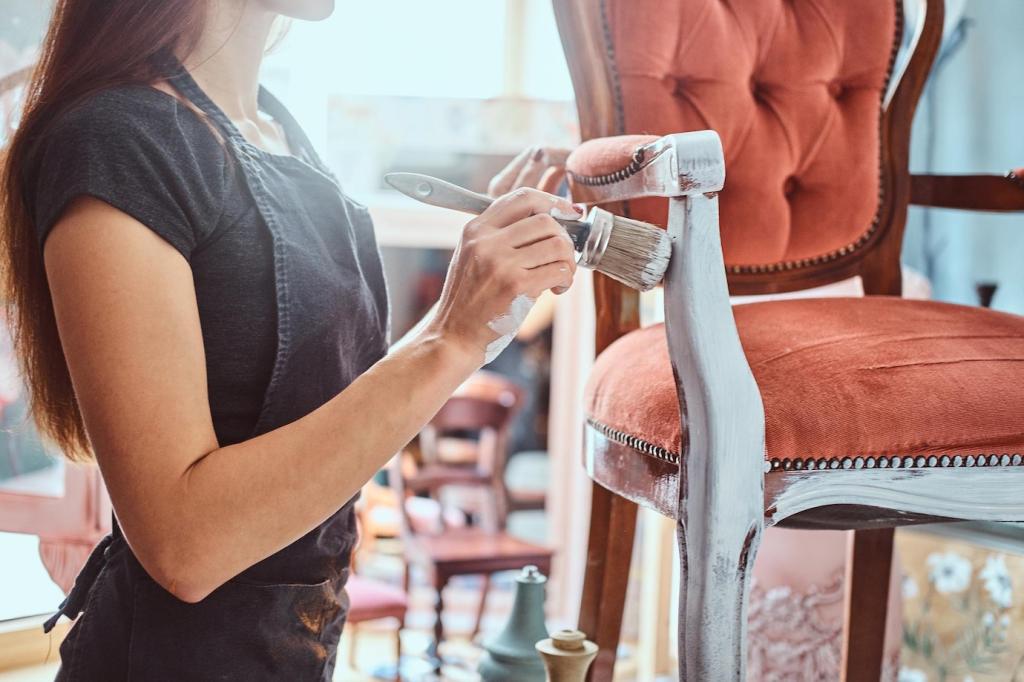
Fabric On: Tension, Corners, and Smooth Finishes
Start by anchoring the fabric at the center of each side, working opposite sides to balance tension. Pull firmly, staple a few inches, then rotate. This prevents waves and skewing. Beginners love how predictable results become when tension grows evenly from the middle.


Fabric On: Tension, Corners, and Smooth Finishes
For clean corners, think gift-wrap. Smooth, tuck, and fold consistently toward the underside, keeping visible lines straight. Place staples in a fan pattern to lock the fold. Practice on scrap fabric first to develop a feel for crisp edges that hold beautifully.

Patterns and Style: Beginner-Friendly Design Wins
Stripes and plaids demand careful alignment, but beginners can succeed by marking the seat centerline and matching pattern lines to it. Use temporary fabric glue or clips to hold position before stapling. Move slowly, checking alignment every few inches to stay confident.
Patterns and Style: Beginner-Friendly Design Wins
If your fabric has a bold motif, decide exactly where the focal element should sit—centered or slightly forward. Measure pattern repeats so multiple chairs match beautifully. Keep extra yardage for alignment, and label cut pieces to avoid confusion during assembly.
Troubleshooting: Quick Fixes for First-Time Mistakes
Tighten frame screws, add a touch of wood glue to loose joints, and clamp overnight if needed. A felt pad under each leg often quiets squeaks on hard floors. Address structure first, then fabric; a solid foundation makes stapling and tensioning far easier.
If staples tear fabric, remove them and shift placement slightly. Add a tiny square of scrap fabric underneath as reinforcement. Minor surface nicks can disappear under a careful fold or trim. Share your hiccup with our community, and learn smarter fixes together.
If tension feels chaotic, stop, breathe, and back out the last few staples. Recenter the fabric and restart methodically. Beginners who embrace redo moments finish quicker overall. Tell us where you got stuck, and we will cheer you through the reset.

A First Chair Transformed: A Beginner’s Story
The Thrift-Store Ladder-Back
A reader found a ladder-back chair with frayed vinyl for five dollars. After photos, labeling, and a few stubborn staples, they built new webbing, added medium-density foam, and chose a textured oatmeal fabric. The reveal surprised even them—clean, modern, and comfortable.
Lessons Learned in an Afternoon
They learned that patience beats force, and that center-out tension fixed most wrinkles. A steamer softened creases, while hospital folds finally clicked on the third try. Their biggest tip for beginners: photograph everything, and write short notes on painter’s tape for later.
Share Yours and Subscribe for Next Steps
What chair are you reupholstering next? Share a photo, ask a question, or tell us your fabric pick. Subscribe for beginner-friendly guides, checklists, and pattern tips, and join our supportive community cheering every staple, fold, and beautifully finished corner.